
Imaginatron creative tools
AI product photography
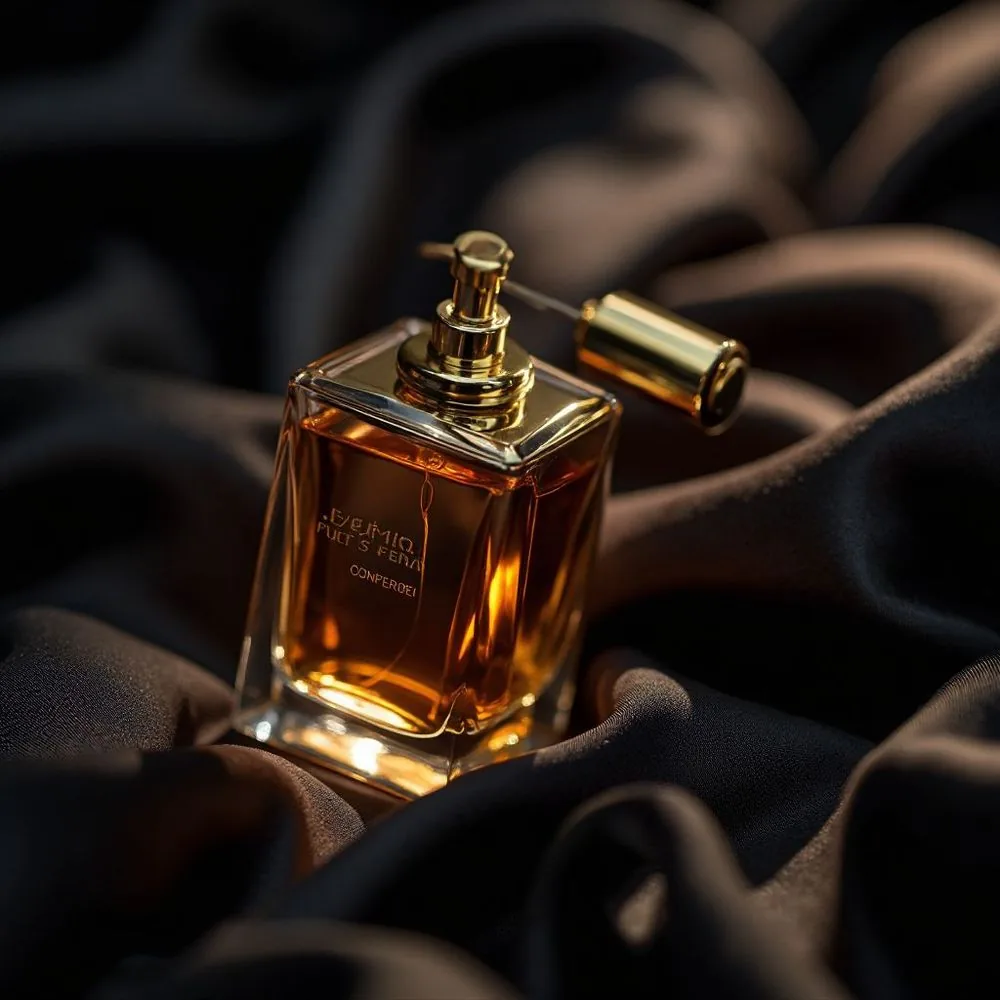
Explore a new setting for a product photo using a reference image in Create. Start with a clear view of the item, describe the surface and lighting, then compare the result with the real product. This workflow is useful for planning a campaign image or testing a visual direction before committing to a shoot.
Account required to use the tool. Review current access requirements and any token quote in the app.
Use a real product photo as the visual reference
Text alone asks the model to invent an object. If the shape and packaging matter, upload a reference photo and choose an image model that supports references. Photograph the whole item in even light, with its label visible and enough space around the edges. Then describe the setting you want to explore: a neutral studio surface or a scene that suits the product. AI generation can change proportions or invent lettering, even with a reference. Compare each result against the original before using it to represent something you sell.
How to get started
Prepare the source photo
Use a sharp photo of the actual product. Remove unrelated objects from the frame and avoid reflections that hide its shape. Keep an unmodified copy for comparison. If the original needs only a clean cutout, the background-removal workflow may cover the task.
Attach the image in Create
Select Image mode and a model that accepts reference images, then upload the product photo. The example link supplies the prompt, not the photo. Describe what should remain recognizable and which parts of the setting should change.
Generate a lighting and background concept
Adapt the example to your product's material and intended layout. Choose the output shape in the app, leaving room for a headline if needed. Review model access and the token quote before generating.
Check the product before adding copy
Compare the silhouette, cap, seams and label against the source. Check whether reflections match the material. Reject a version that invents a feature. Add accurate price or campaign text as editable elements in your design after the image is ready.
A studio product-image prompt for a reference photo
Using the uploaded product photo as reference, create a studio product image on a warm gray tabletop with a matching plain background. Keep the product's shape, material and visible packaging details consistent with the reference. Soft light from a large window on the left, gentle contact shadow beneath the base, eye-level three-quarter view. Leave empty space on the right for copy. No added props or promotional text.
Before you finish
Separate a visual concept from an accurate catalog record. Small label text and exact color need particular attention. When an unchanged product outline or label is essential, use the original photo with background removal and layout editing, then check the finished export at its intended size.
Frequently asked questions
Where do I make a product image?
Open Create in Image mode and select an image model that supports reference uploads. This guide uses that workflow; the link opens Create so you can attach your product photo.
Will AI preserve the logo and label exactly?
Exact preservation is not guaranteed. Inspect every letter and compare the product's proportions with the original. Use the original product image in a layout when those details must remain unchanged.
Can I generate a product without a reference photo?
Yes, a text prompt can produce a concept for an imagined product. Use a photo of the actual item when evaluating a design intended to represent an existing product.
Does this require a subscription or tokens?
Image generation spends tokens, and some model choices have additional access requirements. Check the selected model and quote in Create. Background removal has its own access requirements, explained in its guide.
For billing and account questions, visit the help center or read the full FAQ.