
Imaginatron creative tools
AI character generator
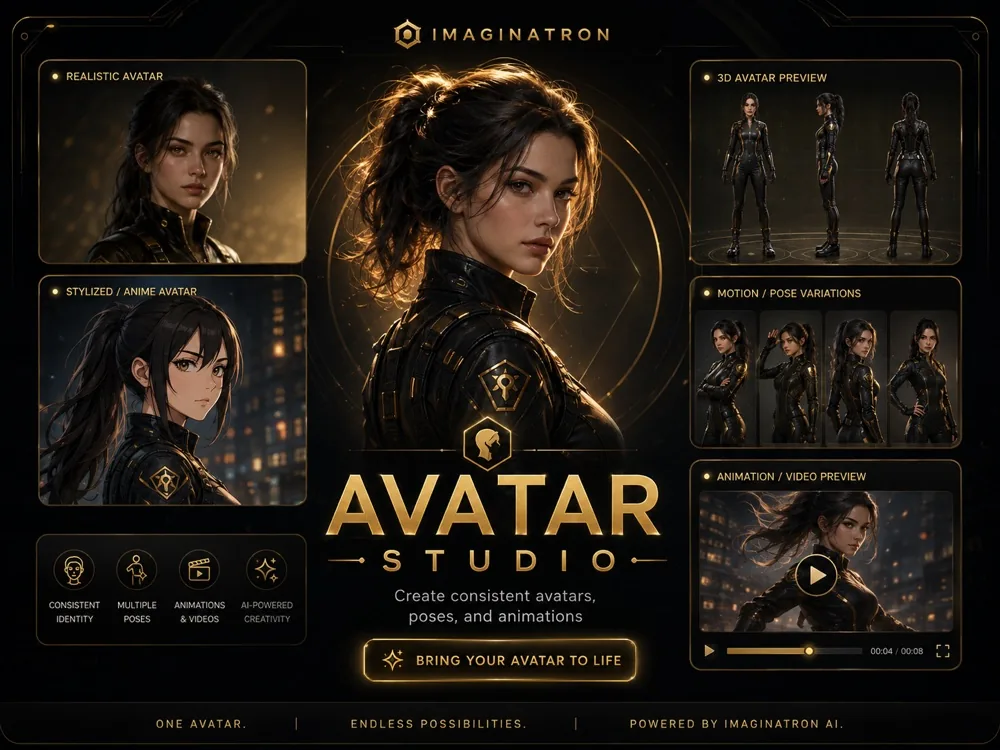
Design a character you can save and return to in Avatar Studio. Start with a written description or character reference photos, choose a visual style and decide whether you need an image or a 3D character. The creation screen shows which generation options are available and what they cost.
Account required to use the tool. Review current access requirements and any token quote in the app.
Describe the character so its shape is easy to read
Hair, facial features and clothing give a character recognizable details. For a character intended for 3D, the starting image also needs to show the whole body with clear separation between limbs and torso. A neutral A-pose and even light make that form easier to interpret. A dramatic portrait can hide half the body, and a held prop can merge with the hand in the generated mesh. Begin with a simple outfit and add complexity after you have inspected the result. The creation screen includes prompt guidance to help catch framing and pose choices that can make 3D conversion harder.
How to get started
Choose how to start
Open Avatar Studio's creation screen. Select Create with AI for a prompt, or Use photos to supply one to four character images. Give the character a name so you can find it in your library. Use photos that show the same character clearly.
Write the brief and choose a style
Describe the face and hairstyle, then the outfit and colors. Choose among the styles offered, such as stylized, realistic or anime. For a 3D character, use a full-body neutral pose with feet visible; the example below provides a starting brief.
Review image and 3D options
Choose a character image or enable 3D generation when it is available. Review the cost before creating, including any selected rigging operation. If 3D generation is paused, the screen explains the available image and model-import options.
Inspect and keep the character
Check the generated face and outfit against the brief. For a 3D result, rotate the model to inspect areas the starting view did not show. Save the character in Avatar Studio and evaluate the available pose or motion options before planning an animation around it.
A character-sheet prompt to adapt in Avatar Studio
A stylized adult explorer with a short dark bob, brown eyes and freckles. Teal utility jacket, tan trousers and simple brown boots. Full-body character sheet, neutral A-pose with arms clear of the torso, feet visible, even diffuse lighting, no cast shadows, plain background, consistent face and outfit. No held props.
Before you finish
Keep the brief and reference images with the saved character so you can compare later revisions. An image and a 3D model are different outputs: inspect the mesh and rig before expecting a particular movement. For a layered drawing with editable pivots and a 2D timeline, follow the separate 2D Animation guide.
Frequently asked questions
Can I create a character from text?
Yes. Choose Create with AI, enter a character name and prompt, then select the available style and output options. Avatar Studio shows generation costs before you confirm.
Can I start with my own character drawings?
Yes. Use photos accepts one to four reference images. Use clear views of the same character and check that the appearance stays consistent across them.
Does every character become a 3D model?
No. You can create a character image. Optional 3D generation depends on provider availability and the options selected in the creation screen. It has a separate cost, with rigging included only when selected.
Can I import a character I already modeled?
The Import a model option accepts a public HTTPS link directly to a GLB file that opens without signing in. Check the import requirements shown on the creation screen.
For billing and account questions, visit the help center or read the full FAQ.